Pre-Writing Skills
In education, the stage before writing is referred to as Pre-Writing, and it starts with drawing.
Initially the toddler will draw continuous scribbles, with whatever implement you give him and on any surface! (more about that later!). He will grasp the pencil by clutching it in the palm of his hand.
At some stage, the child will make ‘separated scribbles’ – this happens when the child scribbles, lifts the pencil, and then starts again elsewhere on the paper.
The next stage is when left to right scribbles are done in lines. (May be right to left)
Next, letter-like shapes are drawn, though far from ‘perfectly formed’.
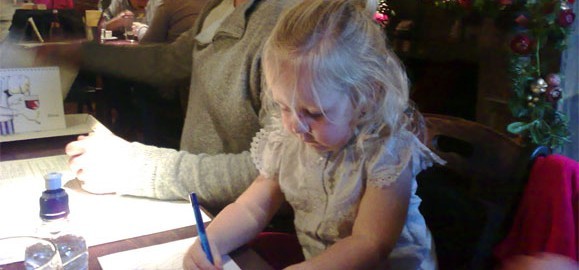
Chances are, that your child will have seen you writing, and at some stage will attempt to copy you. You can assist them, by providing suitable writing implements, and a space to draw.
Ideally use a small child’s table and chair set. The first few times, sit down with them and show them what to do. Offer them a go. As you’re drawing say: “Mummy’s drawing ON the paper”. When the activity is over, put the crayons back in a basket/ pencil case and put away. Not only is this reinforcing to ‘tidy up’, but also reduces the risk of wall drawing! Each time he wants to draw, sit with him and again say “Daddy’s drawing ON the paper. Oh good, Carl’s drawn ON the paper” – you are modelling the way to draw/ write.
Your children’s fine motor skills are still developing, and the strength in their hands and grip is not yet strong.
Pencils and crayons are the best to start with, as a child will need to grip them firmly, to be able to make a mark on the page. Children love textas and pens, as they are ‘easy’ to make a mark with – but these don’t require much effort in their hands and grip, so they don’t encourage muscle development – leave them till later.
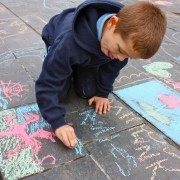
Chunky chalk can also be used, outside on concrete.
The following activities will help:
- Squeeze water from empty plastic containers – such as sauce or shampoo bottles, thoroughly rinsed out.
- Teach your child how to pinch open a peg, to put it on a clothes-line.
- The plastic ‘misting’ bottles (used for indoor plants) with a trigger – fill with water and squeeze.
- Roll, and form play-dough shapes.
- Use small tongs or tea-bag tongs to pick up small objects.
Don’t limit their drawing and writing to just white paper… use coloured paper, newspaper, used envelopes, graph paper, lined paper, cardboard etc
And…
Acknowledge their efforts each time with a ‘Wow, you made a yellow picture” or “You drew red circles” – not only are you commending their efforts, you are reinforcing the language around it!
As the child gets older and is wanting to write their name, please ensure that you get a copy of the Font which is used in the state in which your child will attend school. You should easily be able to get one from your local school, or directly from the Dept of Education. I know you want to make school fun and easy for your child, so help them to write, in the way they will be doing it at school.
Happy writing!
Sonja Preston
“Remember to Play”
—
Image by dougbelshaw via Flickr


